Controls: What’s What

Keeping your home warm without accidentally heating the entire neighbourhood is a bit of a balancing act. Most people have a “mix and match” collection of controls that don’t always talk to each other.

Here is a breakdown of what each bit of kit does and, more importantly, how to make them work together.

vecteezy_hand-adjusting-wall-thermostat-dial-in-sunlit-room-marking_78803025 (1)

1. Room Thermostats

A thermostat is a simple switch. It tells the boiler: “It’s too cold, turn on” or “We’ve reached the target, turn off.”

  • Standard Room Stat (The Dial): This is the classic “set it and forget it” wall unit. It only cares about the current temperature.
    • How to use: Set it to your comfortable temperature (usually 18–21°C). If you are going out, you have to manually turn it down, or the boiler will keep firing all day to maintain that heat.
  • Programmable Room Stat: This combines a thermostat with a timer.
    • How to use: You can set “schedules.” For example: 20°C at 7:00 AM (wake up), 15°C at 9:00 AM (leave for work), and 21°C at 6:00 PM (return). It’s much more efficient because it handles the “turning down” for you.
  • Smart Thermostat (Nest, Tado, Hive): These connect to your Wi-Fi and an app.
    • How to use: Use the app to set schedules or use “Geofencing” (it senses when your phone leaves the house and turns the heating off automatically). Many “learn” how long your house takes to warm up and adjust accordingly.


2. Thermostatic Radiator Valves (TRVs)

You likely have these on the side of your radiators with numbers 1 through 5.

  • What they do: They sense the air temperature in that specific room and throttles the water flow to that radiator.
  • How to use:
    • Living Room: Set to 3 or 4 (approx. 20°C).
    • Bedrooms: Set to 2 (approx. 18°C) for better sleep.
    • Unused Rooms: Set to 1 (frost protection) to save money.
  • The Golden Rule: Never put a TRV on the radiator in the same room as your main wall thermostat. They will “fight” each other, and your boiler might never turn off.


3. Smart Meters

A smart meter doesn’t actually control your heating; it just tells you how much the other devices are costing you.

  • The In-Home Display (IHD): This is the little screen in your kitchen.
  • How to use: Watch the “Gas” usage when your heating kicks in. It’s a great reality check. If you see the “flame” icon or a high pence-per-hour rate, it’s a signal to check if you’ve left a window open or if a TRV is cranked to 5 in a room you aren’t using.


4. Boiler Controls

Your boiler itself usually has two dials or digital settings:

  • Heating Temperature: This controls how hot the water is that goes to your radiators.
    • Tip: For modern condensing boilers, keeping this at a lower setting (around 55–60°C) allows the boiler to run more efficiently (condensing mode), though radiators may feel “warm” rather than “scorching.”
  • Hot Water Temperature: If you have a separate tank, this should be set to 60°C to kill bacteria like Legionella.


5. Other Controls

  • Cylinder Thermostat: If you have a hot water tank (not a Combi boiler), there is a strap-on thermostat on the side of the tank. This stops the boiler from needlessly heating water that is already hot.
  • The “Programmer” (or Timer): In older systems, this is a separate box near the boiler with “On/Off/Auto” switches. “Auto” or “Twice” is usually best, as it follows your timed schedule.


Pro-Tip for Efficiency

Don’t treat your thermostat like a volume knob. Turning it up to 30°C will not make the house heat up faster; it just means the boiler won’t stop until your house is a sauna. Set it to 20°C and let the system do its job.

Contact Us

We are here for any kind of question you might have.

Call us today
01134 680 253

Efficient Electric in My Home

Lowering your electricity bill isn’t just about saving a few dollars—it’s about making your home smarter and more sustainable. Whether you’re dealing with a drafty older house or a modern apartment, small shifts in habit can lead to massive gains in efficiency.

Here is your guide to trimming the fat off your power bill without living in the dark.

vecteezy_washing-clothes-in-a-laundry-machine-at-home-in-the-morning_75292676 (1)

1. Conquer the “Energy Vampires”

Did you know your appliances are eating while you sleep? Even when turned off, many electronics draw “phantom power.”

  • Smart Power Strips: These automatically cut power to devices (like your TV or gaming console) when they aren’t in use.
  • Unplug: If you aren’t using that toaster or spare phone charger, pull the plug. It sounds tedious, but it adds up over a year.


2. Master Your Climate Control

Heating and cooling usually account for the biggest chunk of your utility bill.

Strategy Action Impact
The 1-Degree Rule Lower your thermostat by just 1°C in winter. Can save up to 10% on your heating bill.
Seal the Leaks Use weatherstripping on doors and windows. Stops “paid-for” air from escaping.
Smart Thermostats Install a programmable device (like Nest or Ecobee). Adjusts temps automatically when you’re at work or asleep.


3. Light it Up (The Right Way)

If you are still using old incandescent bulbs, you’re essentially paying for heat, not light.

  • Switch to LEDs: They use 75% less energy and last 25 times longer.
  • Leverage Natural Light: Open the blinds during the day to heat your home naturally in the winter; close them in the summer to keep the heat out.


4. Rethink Your Laundry & Kitchen Habits

Large appliances are heavy hitters. Efficiency here is all about timing and temperature.

  • Wash Cold: About 90% of the energy a washing machine uses goes toward heating the water. Modern detergents work just as well in cold water.
  • Full Loads Only: Your dishwasher uses the same amount of water and electricity regardless of how many plates are inside. Make it count.
  • The Air-Dry Hack: Skip the “heat dry” cycle on your dishwasher and just crack the door open.


Pro-Tip: Check Your Water Heater

Most water heaters are set to 60°C (140°F) by default. Turning it down to 49°C (120°F) is usually plenty hot for showers and dishes, and it prevents “standby” heat loss that you’re paying for 24/7.


Ready to see exactly where your money is going?

Would you like me to help you create a customized energy audit checklist based on the specific appliances you have in your home?

Contact Us

We are here for any kind of question you might have.

Call us today
01134 680 253

The Essential Guide to Healthy Home Drainage

Keep it Flowing: The Essential Guide to Healthy Home Drainage

We usually don’t think about our pipes until they decide to remind us—usually through a slow sink, a gurgling toilet, or a smell that definitely wasn’t there yesterday. Healthy drainage isn’t just about avoiding a plumbing bill; it’s about maintaining a hygienic, stress-free home.

Here is how to keep your system running smoothly without the drama.

vecteezy_white-ceramic-sink-with-metal-drain-closeup-bathroom-interior_78320191 (1)

1. The “Golden Rule” of What Goes Down

Most blockages are caused by items that were never meant to be flushed or rinsed away. To keep things healthy, keep these out of your pipes:

  • Fats, Oils, and Grease (FOG): They might be liquid when warm, but they solidify into “fatbergs” inside your pipes.
  • “Flushable” Wipes: Spoiler alert: they aren’t. They don’t break down like toilet paper and are a leading cause of major clogs.
  • Coffee Grounds: These act like wet sand, settling in the P-trap and creating a stubborn sludge.
  • Hair: Use a mesh drain protector in the shower. It’s a £5 fix that saves a £200 plumber visit.


2. Simple Maintenance Habits

You don’t need harsh chemicals to maintain your drains. In fact, many store-bought cleaners can actually corrode older pipes over time. Instead, try these:

Method Benefit Frequency
Boiling Water Flush Dissolves minor grease buildup. Weekly
Baking Soda & Vinegar Natural deodoriser and mild cleaner. Monthly
Enzyme Cleaners Uses “good” bacteria to eat organic waste. Every 3 months

Pro Tip: If you have a rubbish disposal, grind up some citrus peels and ice cubes. The ice helps sharpen the blades, and the citrus kills lingering odors.


3. Watch for the Warning Signs

Early detection is the difference between a quick DIY fix and a flooded basement. Keep an eye (and ear) out for:

  • Gurgling sounds from the drains or toilet.
  • Water pooling around your ankles in the shower.
  • The “Slow Drain”—if it takes longer than usual to empty the tub, there’s a restriction building up.
  • Unpleasant odors drifting up from the kitchen sink.


4. Don’t Forget the Outdoors

Healthy drainage starts outside. Ensure your gutters are clear of leaves and debris, and that downspouts direct water at least 3 feet away from your foundation. If your outdoor drains are blocked, water can back up into your home’s internal system.


The Bottom Line

A little bit of mindfulness goes a long way. Look after your drains, and they’ll return the favour by staying out of sight and out of mind.

Contact Us

We are here for any kind of question you might have.

Call us today
01134 680 253

Home Breakdown Cover; Is it worth it Final

Picture 1

Why Home Breakdown Cover is the “Sleep Better” Cover You Actually Need

It’s true: we usually only notice our boiler, pipes, or fuse box when they stop working. When a home emergency hits, the stress isn’t just about the cold or the mess—it’s the shock of an unplanned, expensive repair bill.

Home breakdown cover for your heating, plumbing, and electrics turns a potential household crisis into a minor inconvenience. Here is why it’s a smart move for your peace of mind.

1. Predictable Costs

Instead of facing a sudden £1,000 repair for a burst pipe or a boiler part replacement, you pay a small, manageable monthly fee. Even if your boiler fails in the middle of winter, your budget stays on track.


2. No-Stress Emergency Response

If a pipe bursts at 2:00 AM, you shouldn’t have to spend hours vetting contractors or worrying about “midnight premiums.” With a policy, you simply call a 24/7 helpline, and a qualified, vetted engineer is sent straight to your door.


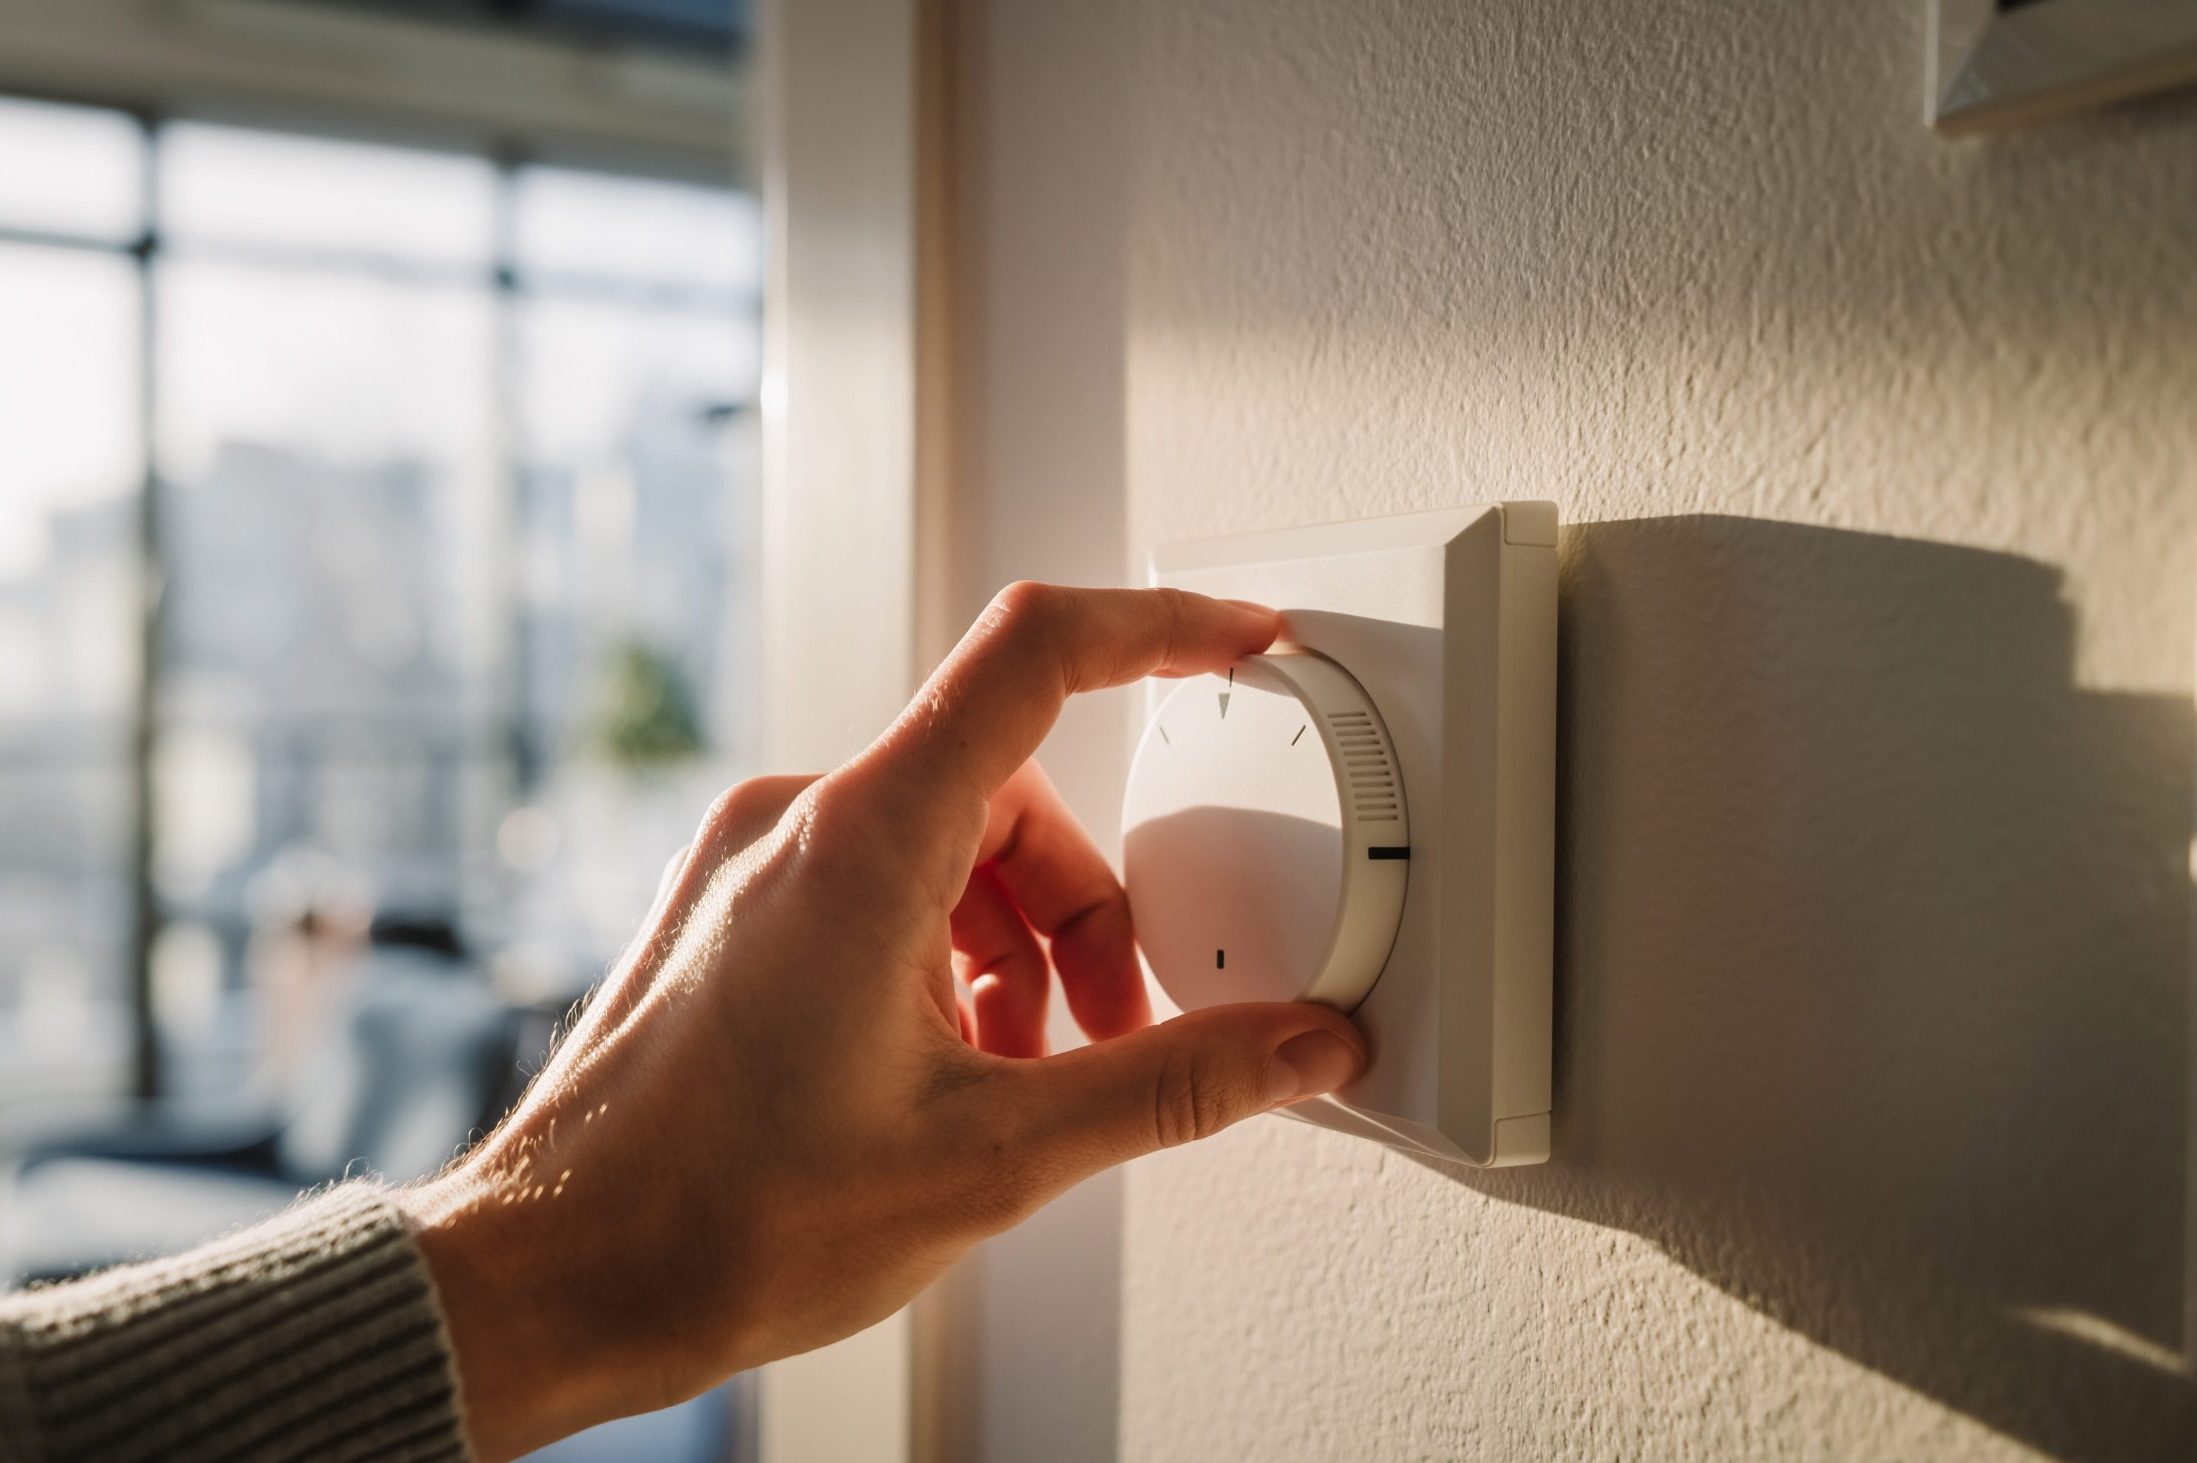
3. Comprehensive Coverage

Most policies bundle the most common household headaches into one plan:

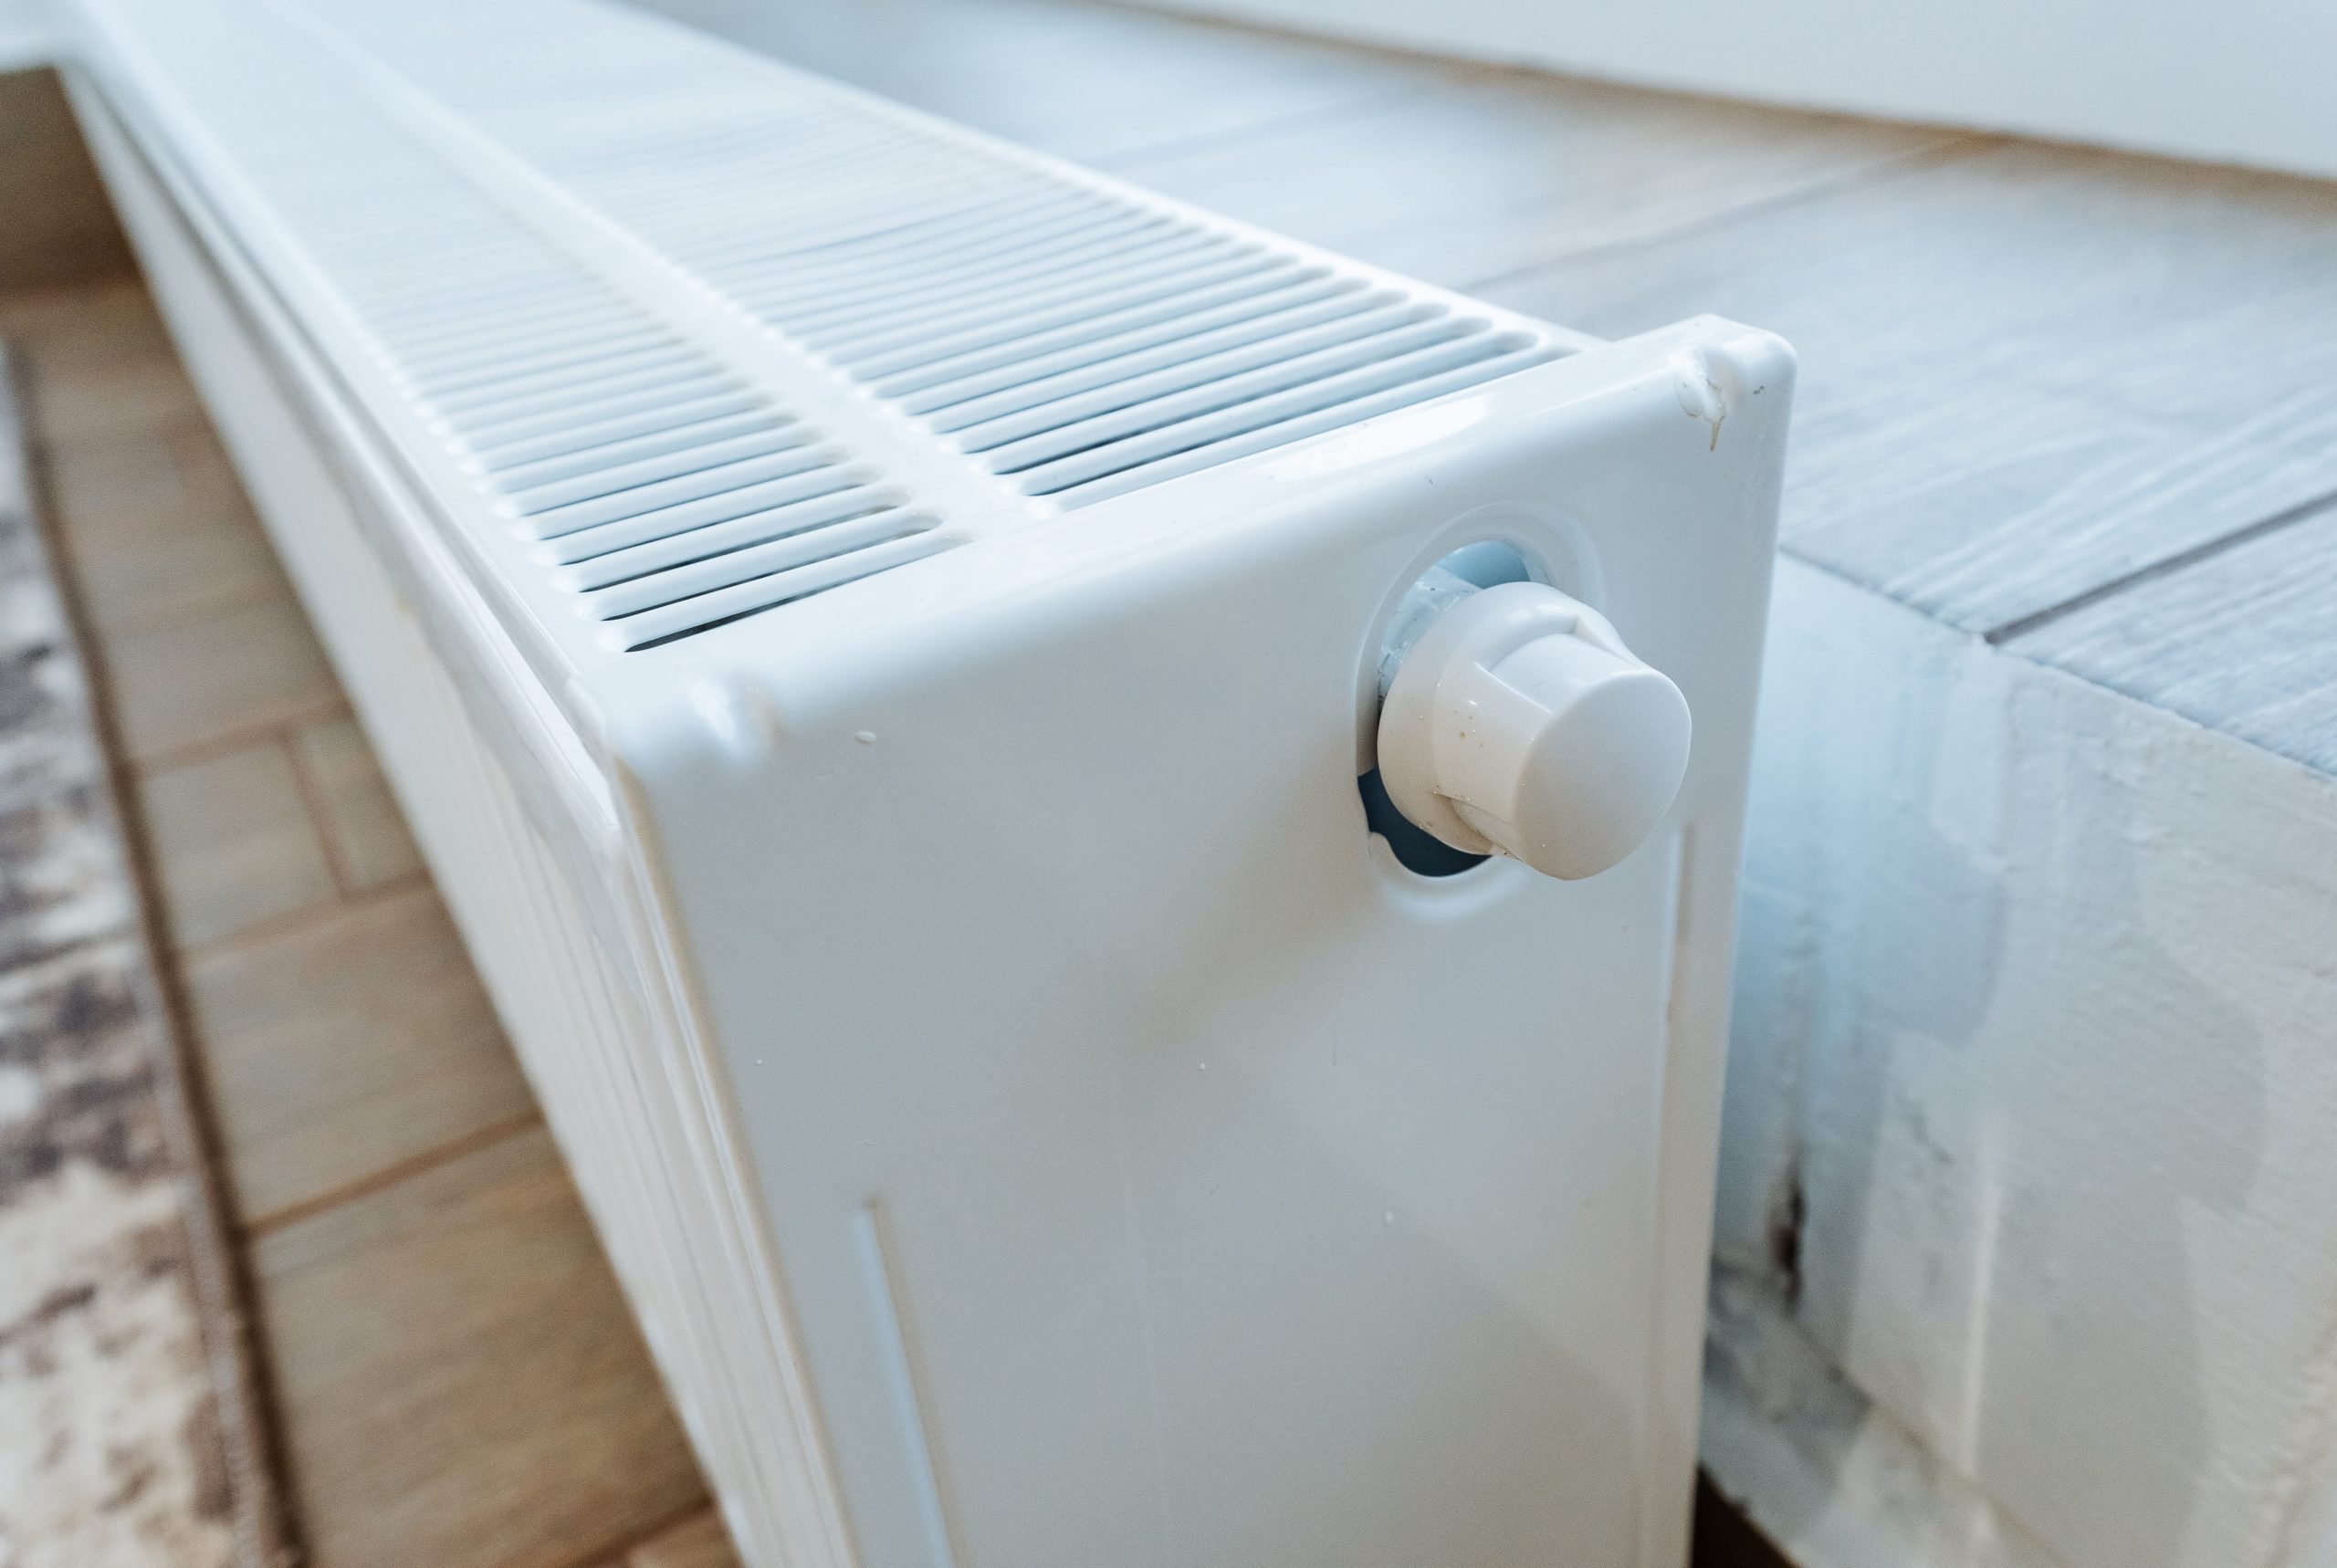
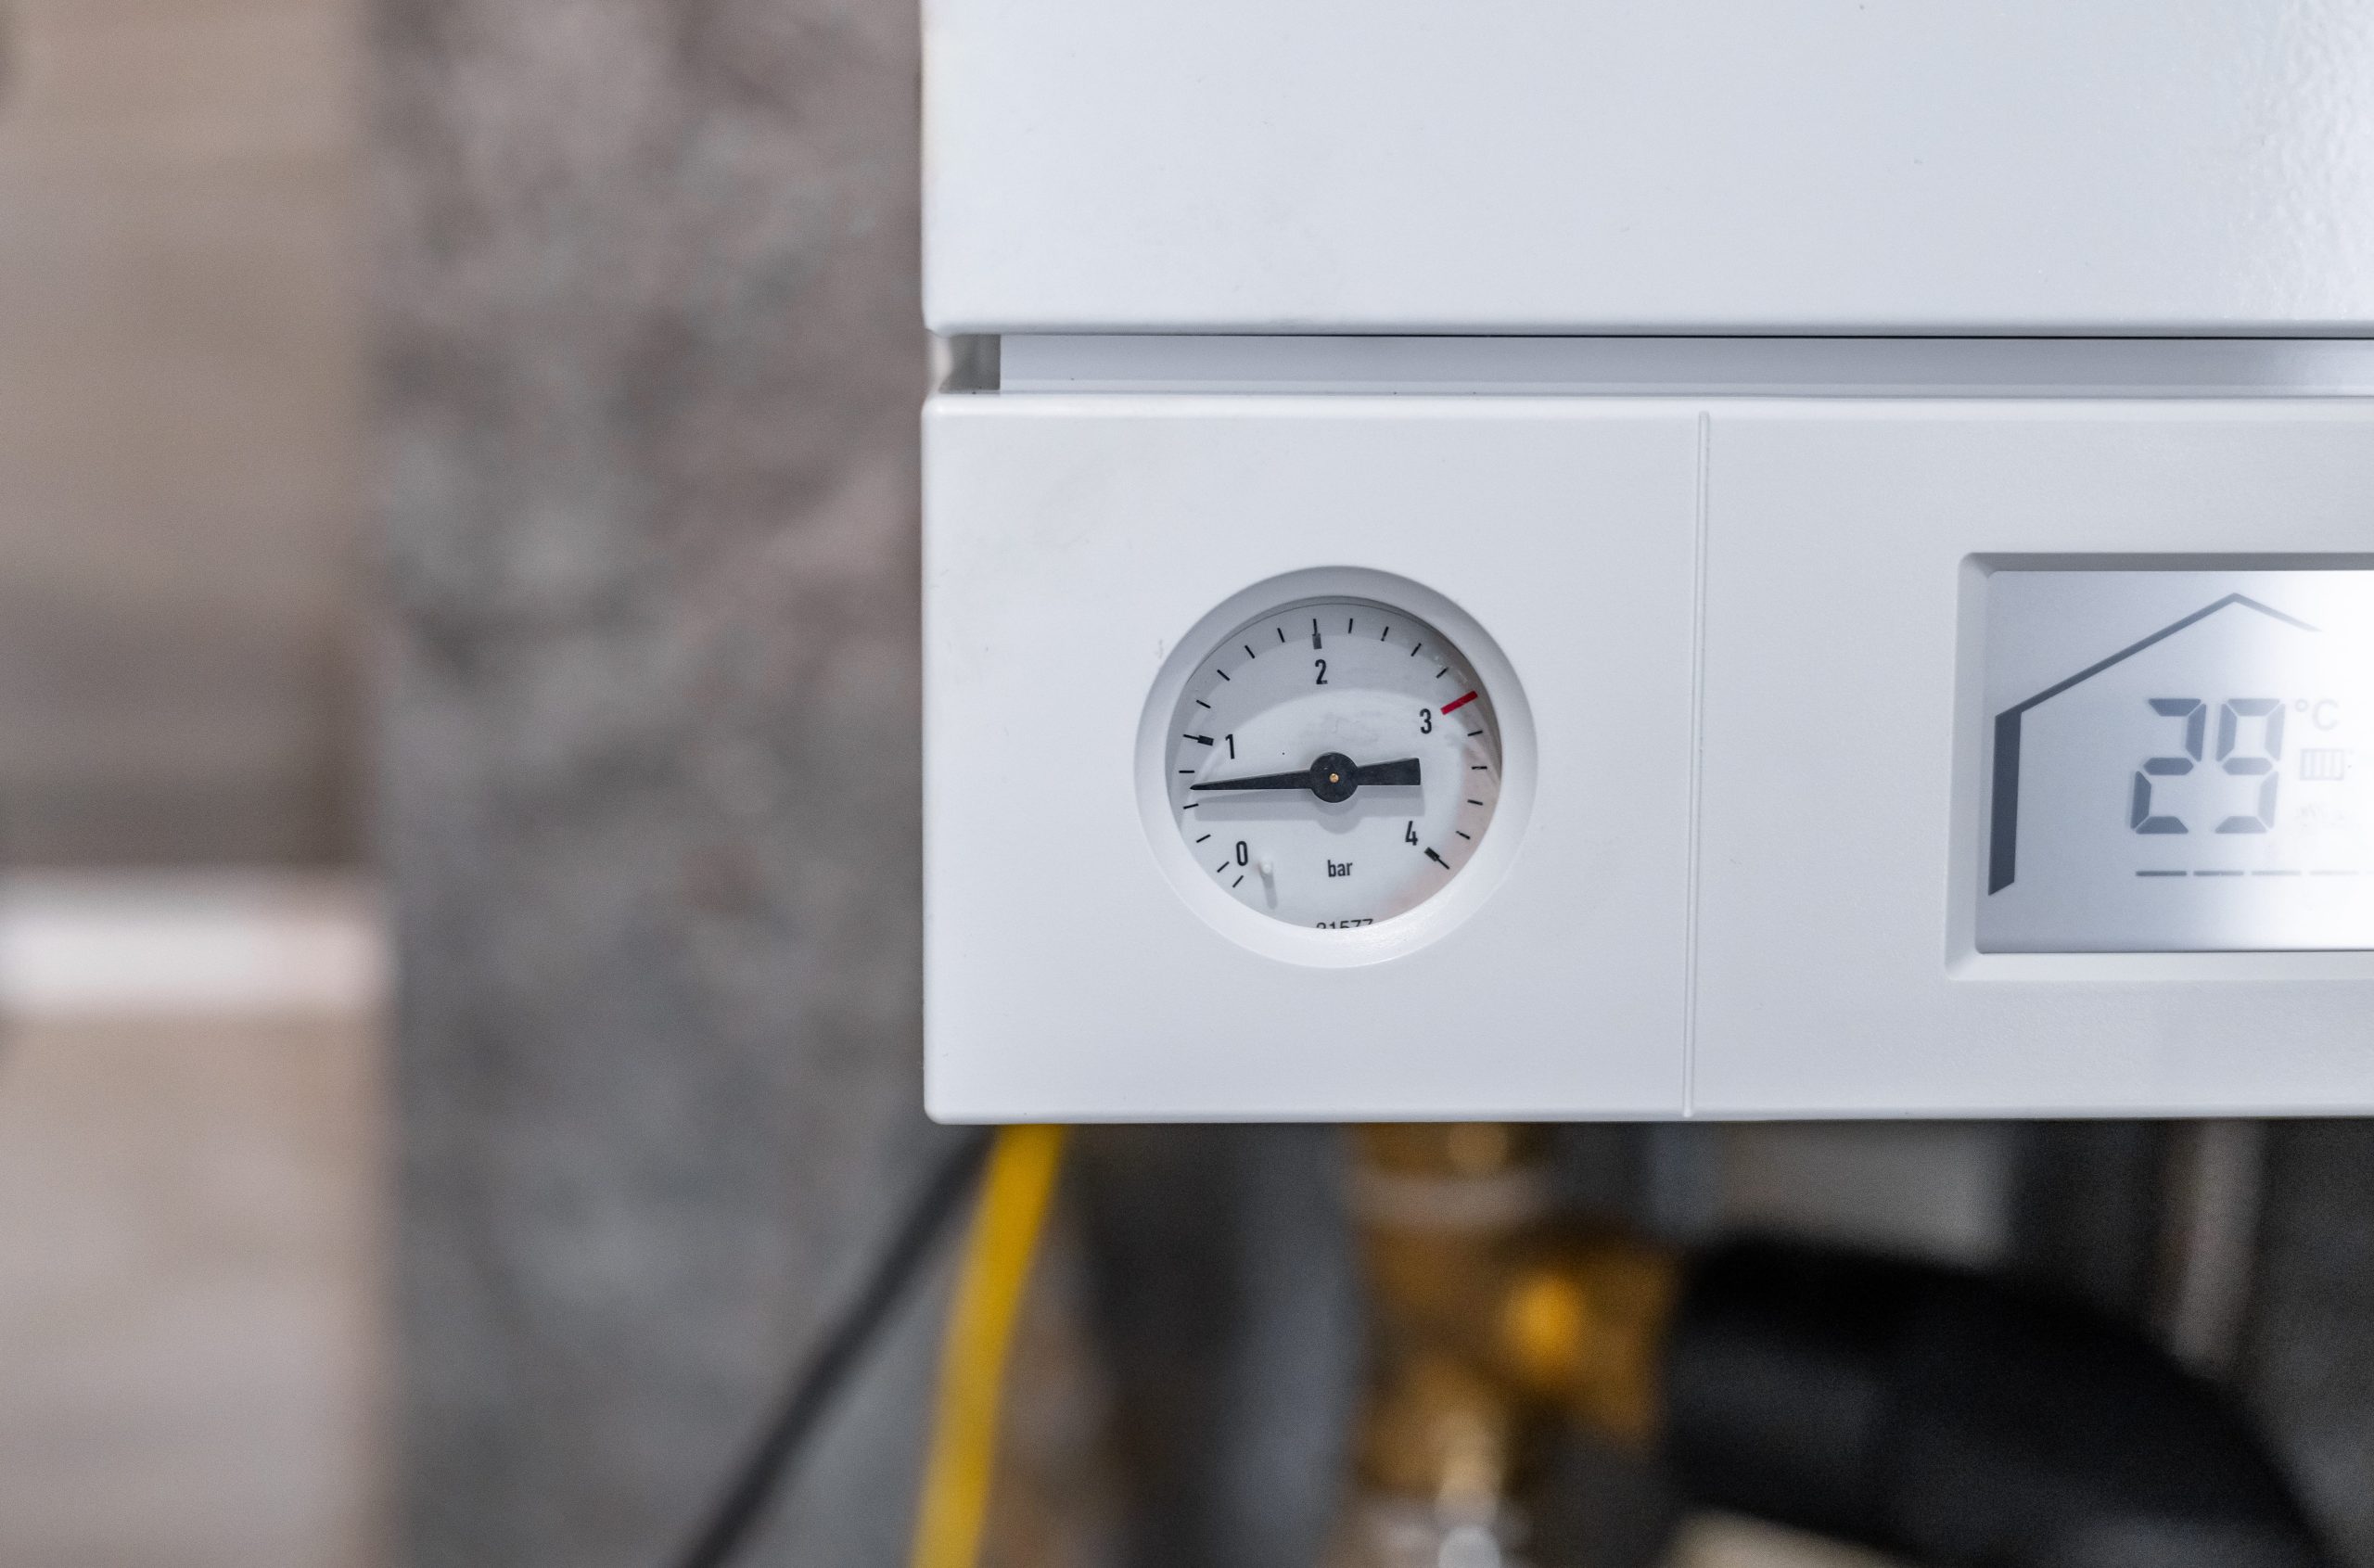
  • Boiler & Central Heating: Keeps you warm and often includes an annual  safety service
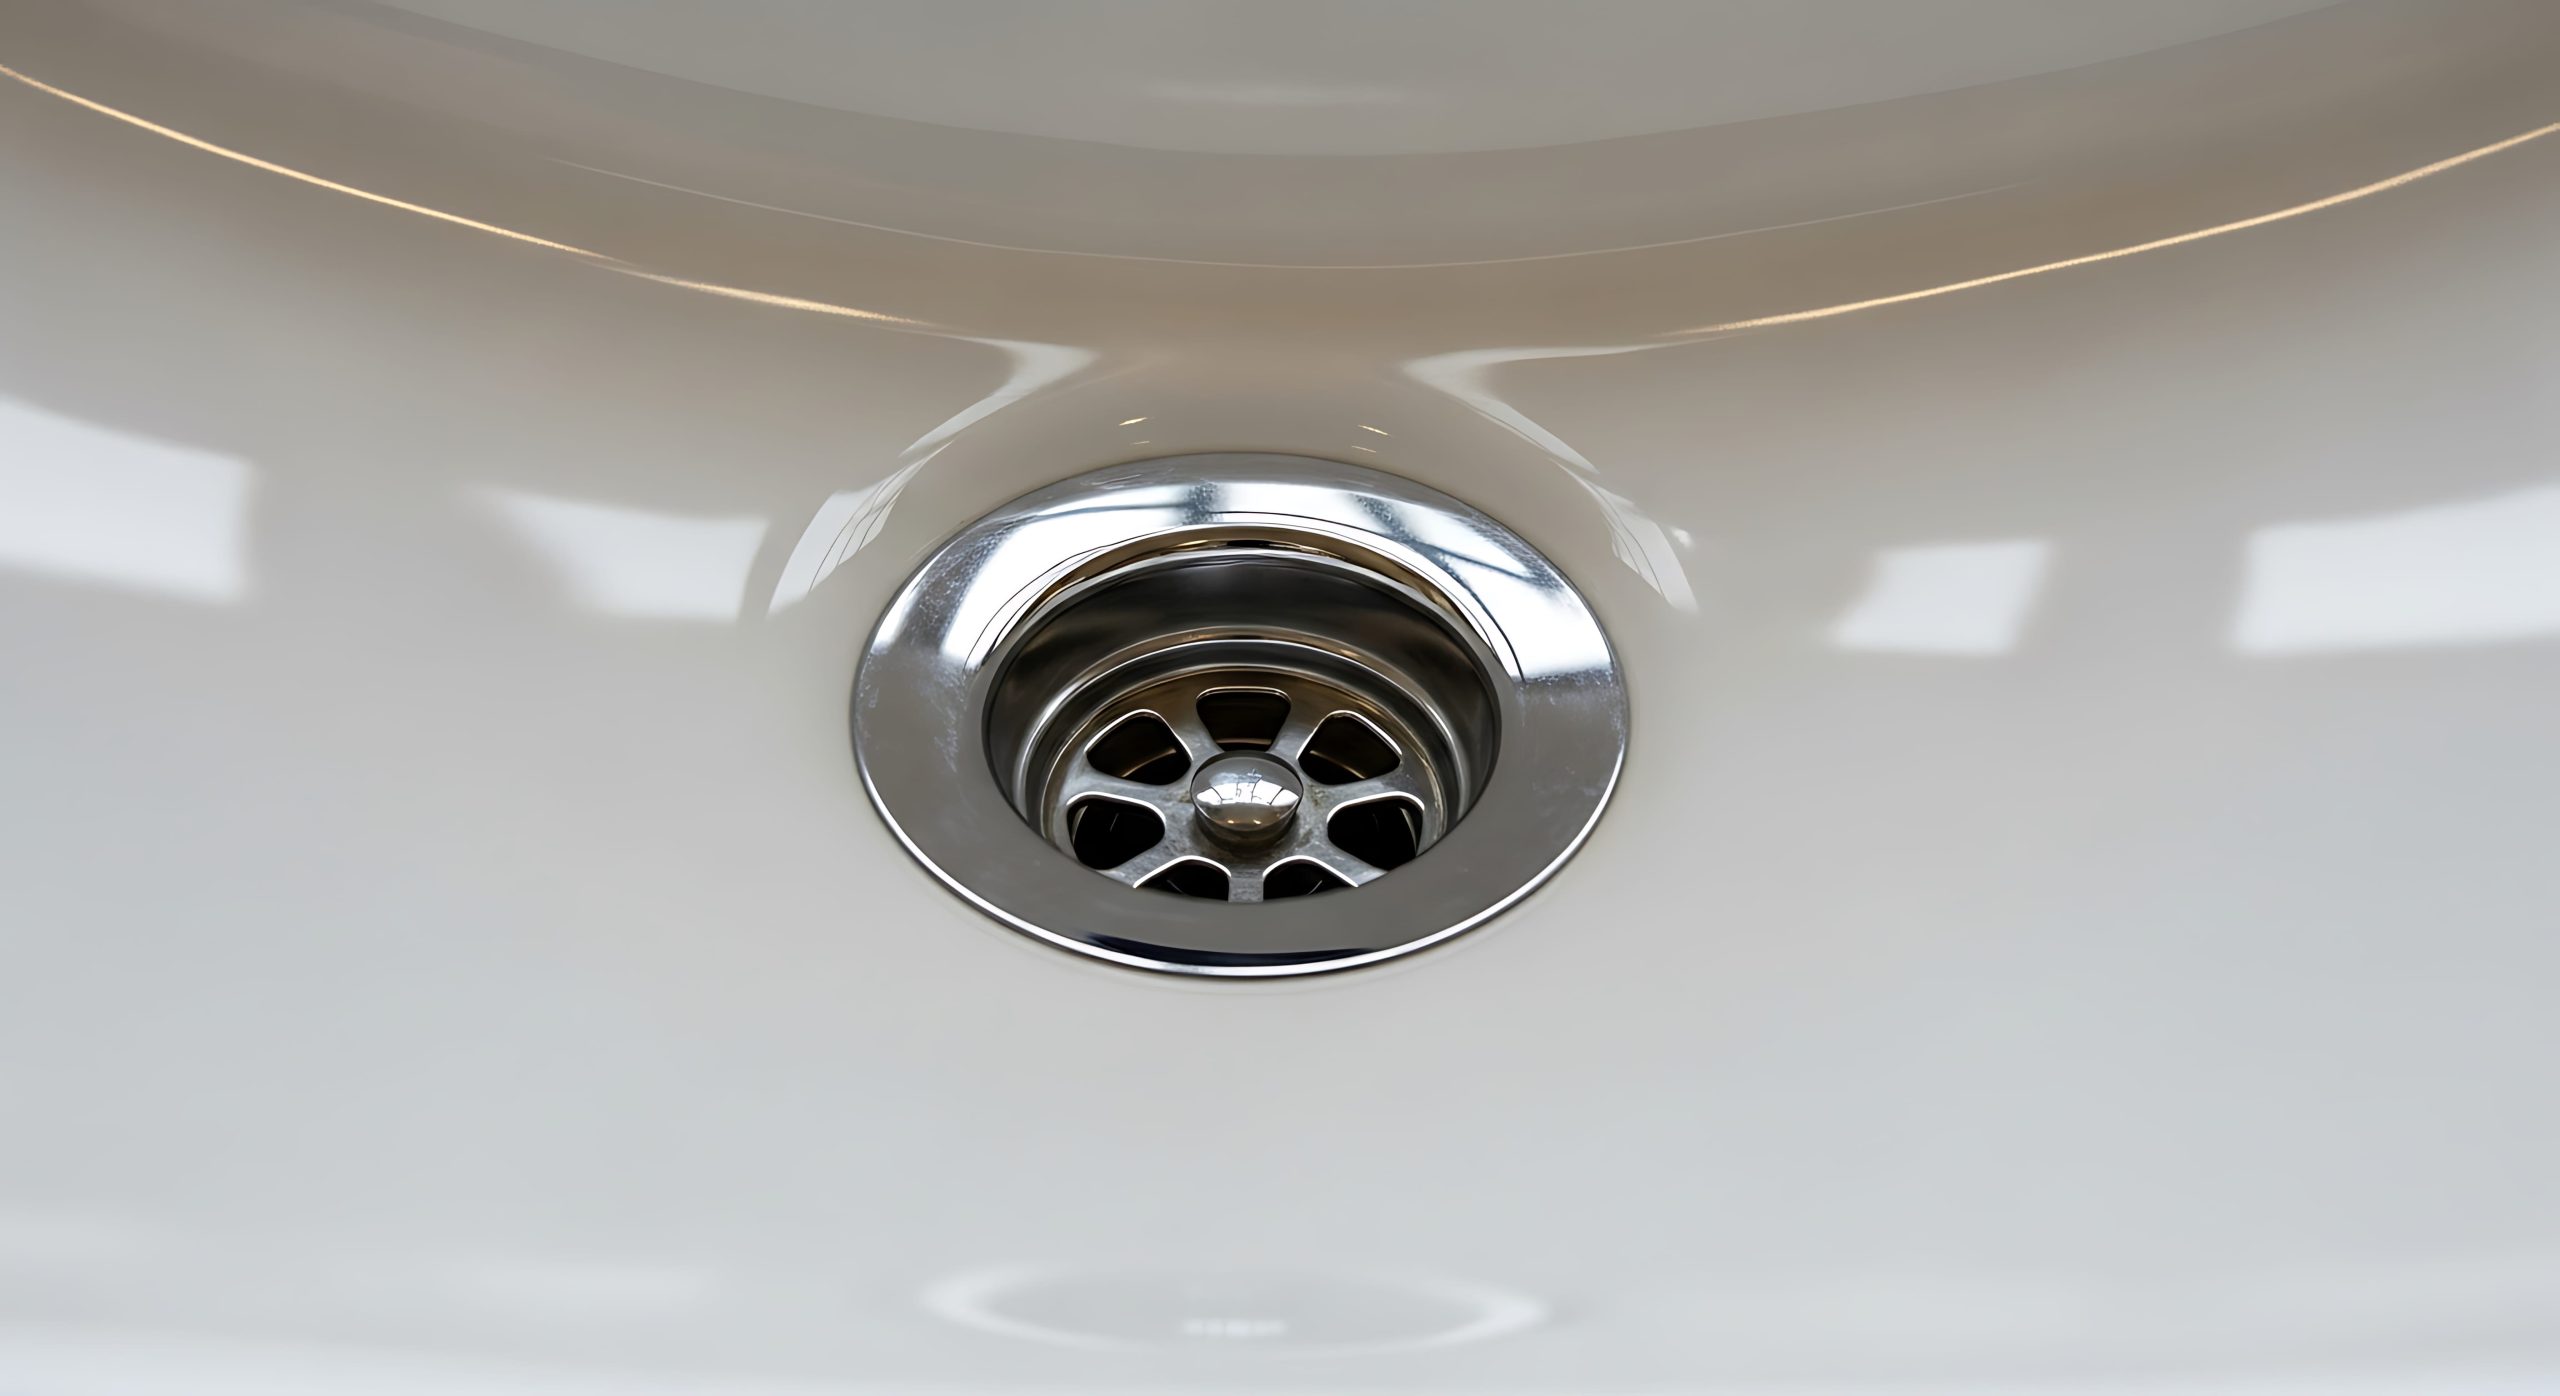
  • Plumbing & Drains: Fixes leaks and high-pressure blockages before they cause water damage
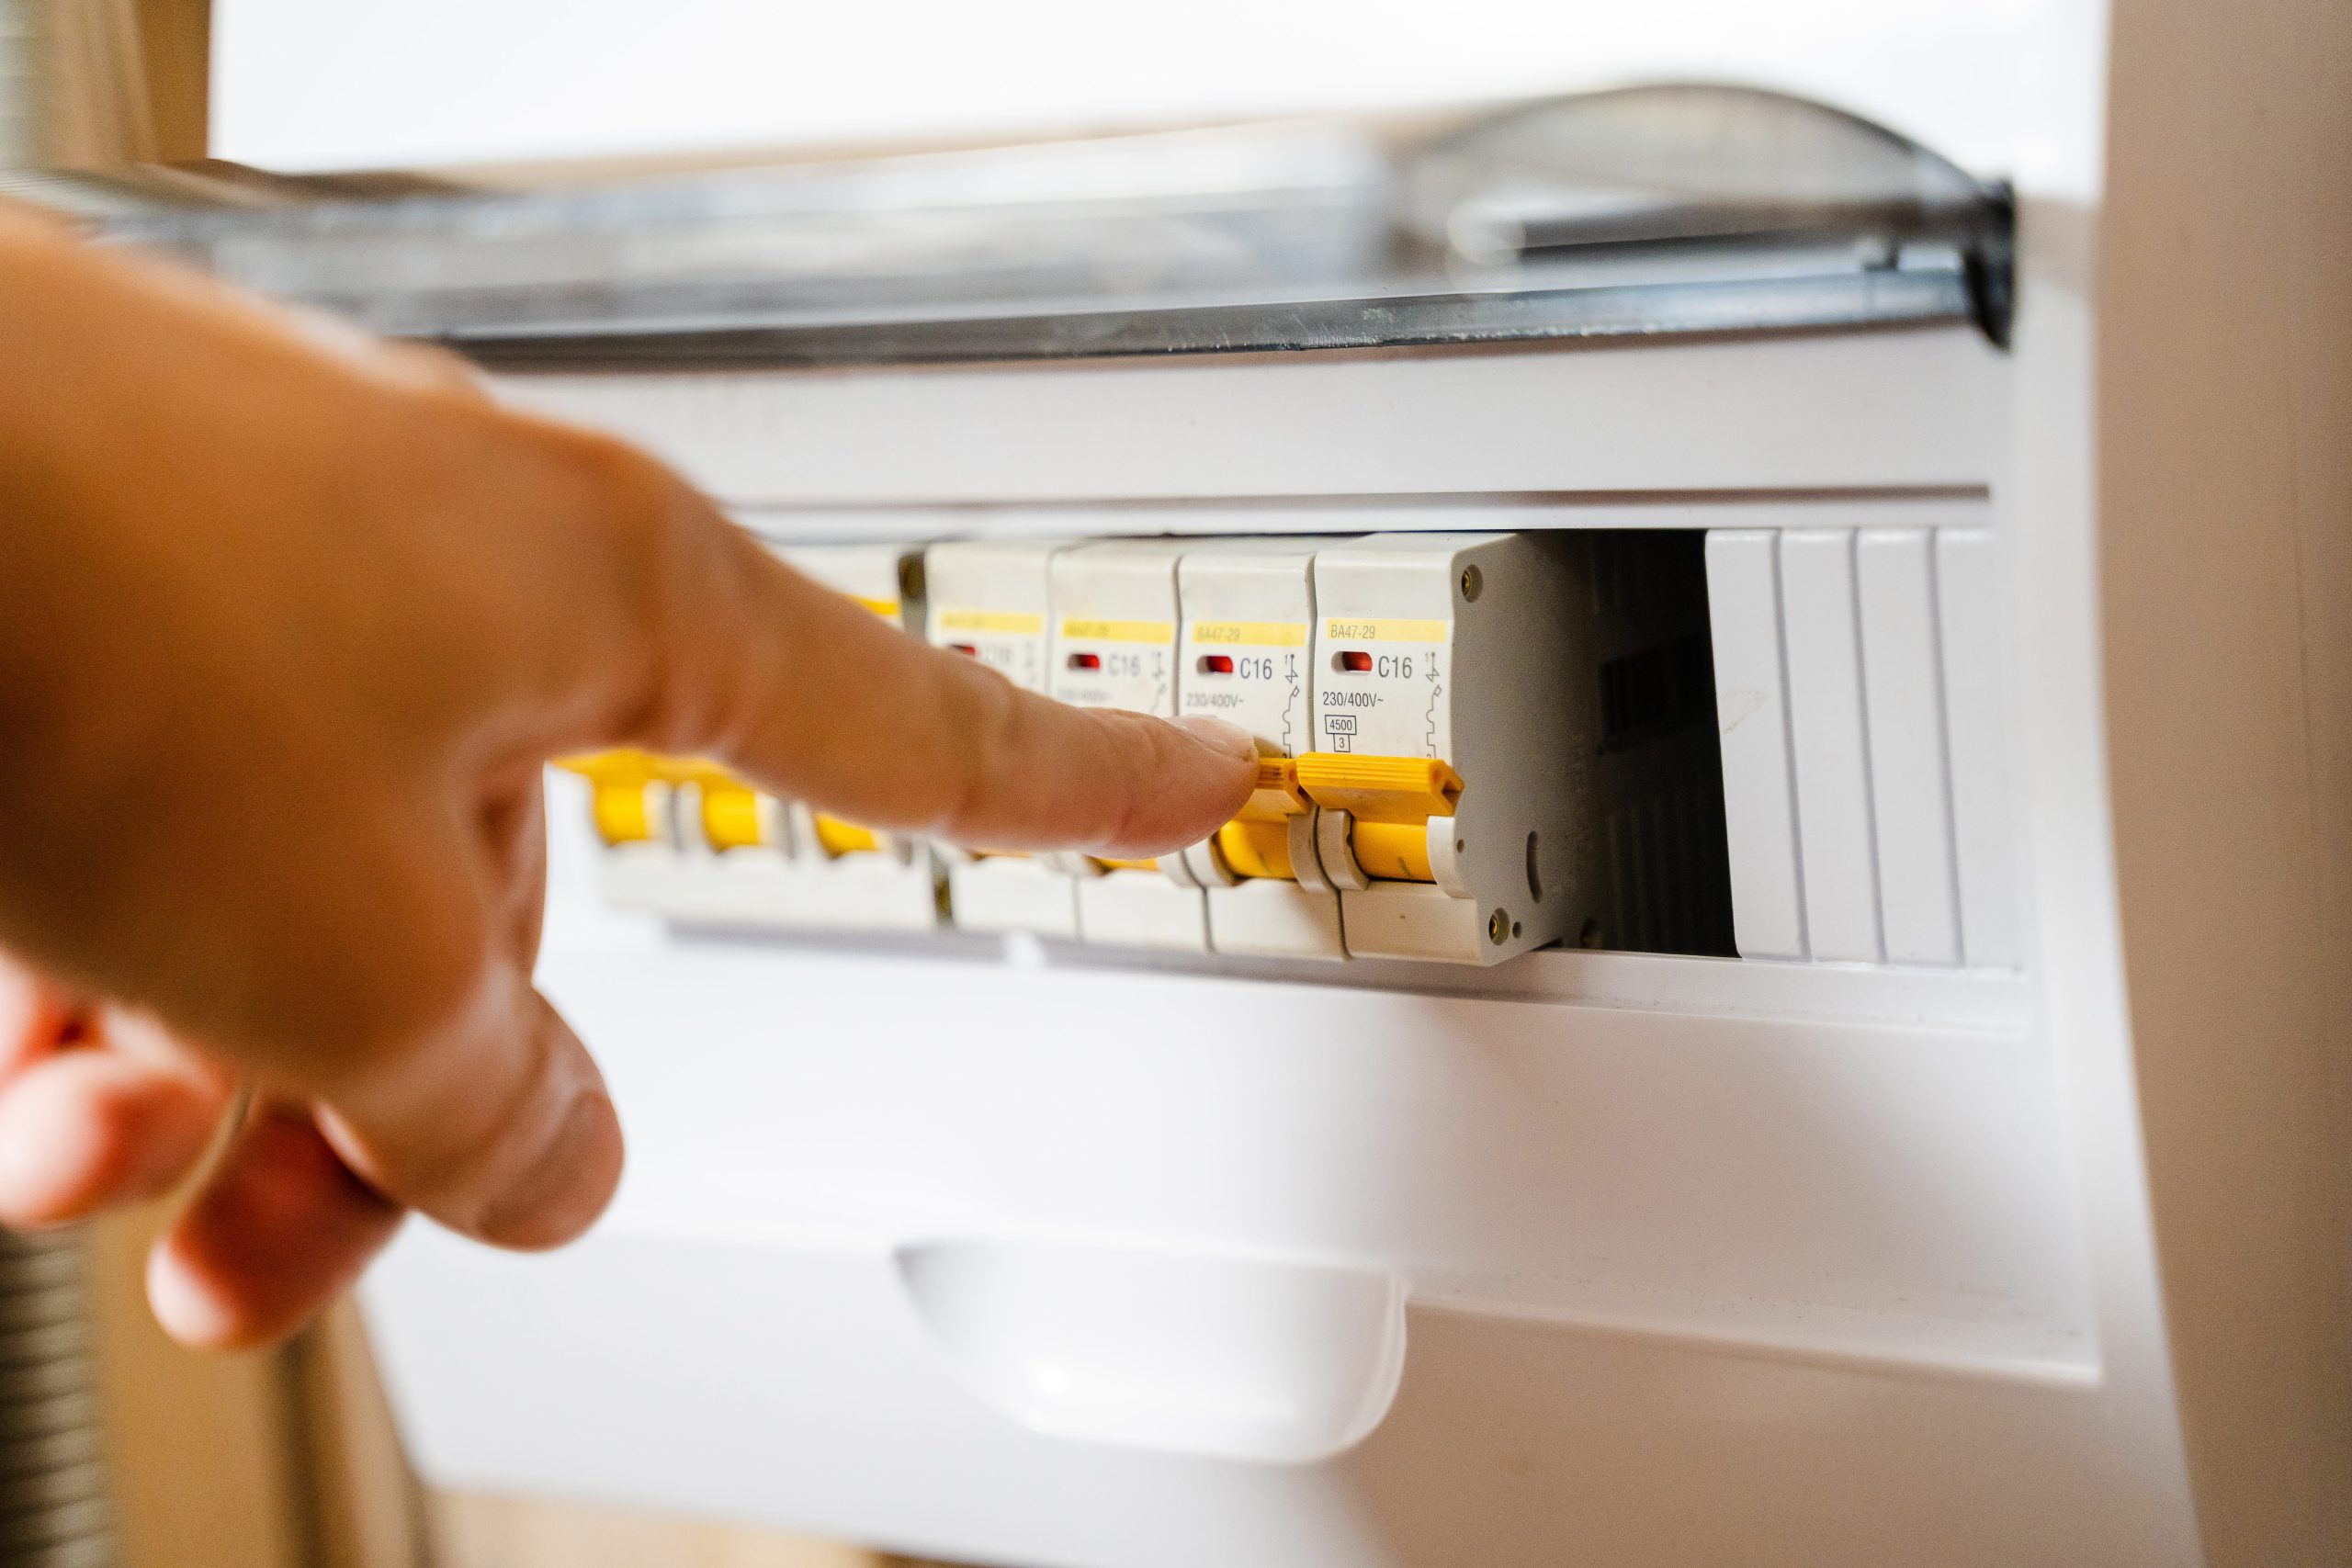
  • Electrics: Safely handles mains failures or circuit is


4. Safety First

Gas and electrical work can be dangerous if not handled by a pro. Breakdown cover ensures all repairs are done by certified engineers, keeping your home safe and ensuring your standard home insurance remains valid.


Happy Home

A happy home starts with confidence that everything works as it should. Reliable heating, safe electrics, and stress‑free plumbing make each day smoother — and when things do go wrong, having the right cover turns a crisis into a quick fix.
Peace of mind is the foundation of a truly happy home.


The Bottom Line:

Unless you have a large emergency fund and the time to manage contractors yourself, home cover is the best way to avoid “repair-bill roulette.”

Contact Us

We are here for any kind of question you might have.

Call us today
01134 680 253

How to Bleed your Radiators

Bleeding your radiators is one of those DIY tasks that feels intimidating until you do it once. Then, you realise it’s mostly just listening for a hiss and having a rag ready.

If your radiators are cold at the top but warm at the bottom, or if they’re making “gulping” noises, you’ve got trapped air. Here is how to get your central heating back to full strength.

vecteezy_modern-white-radiator-with-controls-slim-radiator-featuring_74087134 (1)

Pre-Flight Check: What You Need

  • A radiator key: You can get these for a couple of pounds at any DIY shop like B&Q or Screwfix. (Or use a flat-head screwdriver if your valve has a slot).
  • A cloth or rag: To catch any drips and protect your carpet.
  • A small bowl: Just in case the water spurts.
  • Gloves: The water inside can be hot and, frankly, pretty “inky” and gross.

The Step-by-Step Guide

1. Turn off your heating

This is the most important step. If the pump is running, it might draw more air into the system. More importantly, you don’t want boiling water spraying at you under pressure. Wait about 30–60 minutes for the radiators to cool down completely.


2. Locate the bleed valve

Look at the top end of your radiator. You’ll see a small metal plug with a square centre. This is the bleed valve.


3. Open the valve

Place your bowl on the floor under the valve and hold your rag directly beneath it. Insert the radiator key and turn it anti-clockwise (usually a quarter to a half turn).

Tip: You’ll hear a distinct hissing sound—that’s the trapped air escaping. Don’t unscrew it all the way; you just need to let the air out.


4. Wait for the water

The second the hissing stops, a stream of water will emerge. It’s often discoloured (black or grey) due to internal sludge. As soon as a steady stream of water starts, turn the key clockwise to tighten the valve back up. Don’t over-tighten it; just make sure it’s firm.


5. Check the boiler pressure

Bleeding radiators lets air out, which can cause the pressure in your sealed system to drop.

  • Go to your combi boiler and check the pressure gauge.
  • It should typically be between 1.0 and 1.5 bar when the system is cold.
  • If it’s too low (in the red zone), you’ll need to top it up using the filling loop (usually two small taps under the boiler).


Pro-Tip: The “Bottom-Up” Rule

If you’re doing the whole house, start with the radiator furthest away from the boiler on the ground floor, then work your way up to the highest point in the house.

Contact Us

We are here for any kind of question you might have.

Call us today
01134 680 253

How to Top Up your Boiler Pressure

Topping up your boiler—also known as re-pressurising—is essential if air has been released from the system, either from a leak or from bleeding radiators. If the pressure in the system falls below 1.0 bar, your boiler might lock out and refuse to ignite as a safety precaution.

Here is how to get your gauge needle back into the correct zone

vecteezy_a-gas-boiler-with-a-digital-display-and-a-temperature-gauge_74004244 (1)

Step 1: Identify Your Filling Loop

Look underneath your boiler casing. Most UK households will have one of these three common setups:

  • The Braided Hose (External): A flexible silver mesh pipe connecting two copper pipes, featuring a small tap or lever at each end.
  • Lever (Keyless) These are often blue, white or black: Often found on modern models. This is a single lever tucked underneath that you simply pull down.
  • The Internal Key: A plastic “key” that must be slotted into a specific port on the bottom of the boiler and turned to engage.


Step 2: The Topping Up Process

Safety First: Ensure the heating is turned off and the system has cooled down before you begin.

  1. Open the valves: If using the silver braided hose, turn both small levers so they are in line with the pipe. You should hear the sound of rushing water entering the system.
  2. Watch the gauge: Keep your eyes fixed on the pressure dial (or digital display) on the front of your boiler.
  3. Target 1.5 bar: As the needle moves, wait until it reaches roughly 1.2 to 1.5 bar.
  4. Close the valves: Quickly turn the levers back to their original position (usually at a right angle/perpendicular to the pipe) to stop the flow.

Warning: Do not get distracted! If you overfill the system (above 2.5 or 3.0 bar), you will have to go back to a radiator and bleed out water to manually lower the pressure.


Step 3: Reset and Test

  • Check for leaks: Ensure the filling loop taps are fully closed and not dripping. If you used an external hose, some engineers recommend disconnecting it (keep a cloth handy for the small amount of water left in the hose).
  • Power on: Turn your heating back on. It is normal for the pressure to rise slightly as the water expands while heating up.
  • Monitor: If the pressure drops back to zero within a few days, you likely have a leak. Check your radiator valves and visible pipework for damp patches.


A Quick “What’s Normal?” Guide

System State Ideal Pressure
Cold (Off) 1.0 – 1.5 bar
Hot (Running) 1.5 – 2.0 bar
Danger Zone Above 2.75 bar (Red zone)

Always refer to your specific manufacturer’s manual for model-specific instructions.


When to Call a Gas Safe Engineer

If “turning the taps” isn’t solving the problem, or the problem keeps coming back, it’s time to call for backup.

  • Frequent Pressure Loss: If you find yourself topping it up every few days or weeks, there is a leak somewhere. Constant fresh water introduces oxygen and minerals that corrode your system from the inside out.
  • Visible Leaks: If you see water dripping from the boiler casing or any visible pipework.
  • The Pressure “Rollercoaster”: If the pressure is low when cold but shoots up into the red zone (above 2.5 or 3 bar) when the heating is on, your expansion vessel has likely failed or lost its charge.
  • Error Codes: If the boiler is locking out with a specific fault code (e.g., F22, E119, or F75) and won’t restart after a top-up.
  • Dripping External Pipe: If the small copper pipe on your outside wall (the Pressure Relief Valve) is constantly dripping water.

Contact Us

We are here for any kind of question you might have.

Call us today
01134 680 253

What to do if your home electrics trip out

It’s a bit startling when the lights suddenly cut out, but usually, it’s just your consumer unit (fuse box) doing its job to keep you safe. Most of the time, it’s caused by a faulty appliance or a simple circuit overload.

Here is a step-by-step guide to getting the power back on safely.

vecteezy_the-image-shows-a-closeup-of-a-skilled-hand-adjusting_72730281 (1)

1. Locate Your Consumer Unit

First, find your fuse box. It’s usually in the hallway, under the stairs, or in the garage or utility area. You’ll need a torch or your phone light to see what you’re doing.


2. Identify the “Tripped” Switch

Open the cover. You will see a row of switches. If the power has cut out, one of these switches will be in the OFF position (flipped down), while the rest are ON (flipped up).

  • Individual Circuit Switches: These control specific areas (e.g., “Downstairs Lights” or “Kitchen Sockets”).
  • The RCD (Residual Current Device): This is a larger switch that often protects a group of circuits. If this is down, multiple areas of the house will be dark.


3. The “Reset” Test

Try flipping the tripped switch back to the ON position.

  • If it stays up: It might have just been a temporary “blip” or a lightbulb blowing. You’re good to go.
  • If it trips again immediately: You have a persistent fault. Proceed to the next step.


4. Find the Faulty Appliance

If the power won’t stay on, a specific device is likely the culprit.

  1. Unplug everything on that specific circuit. Don’t just turn them off at the wall; pull the plugs out.
  2. Reset the switch at the fuse box. It should now stay in the ON position.
  3. Plug things back in one by one. When the power trips again, the last thing you plugged in is your “villain.” Common culprits include kettles, irons, and old fridges.


⚠️ When to Call an Electrician

While most trips are caused by appliances, you should stop and call a professional if:

  • You smell burning or plastic near the fuse box or any outlet.
  • There are visible scorch marks on a socket.
  • The switch trips repeatedly even when nothing is plugged in.
  • The switch feels hot to the touch.

Contact Us

We are here for any kind of question you might have.

Call us today
01134 680 253